Cocoa开发 - 对NSTableView进行拖拽排序
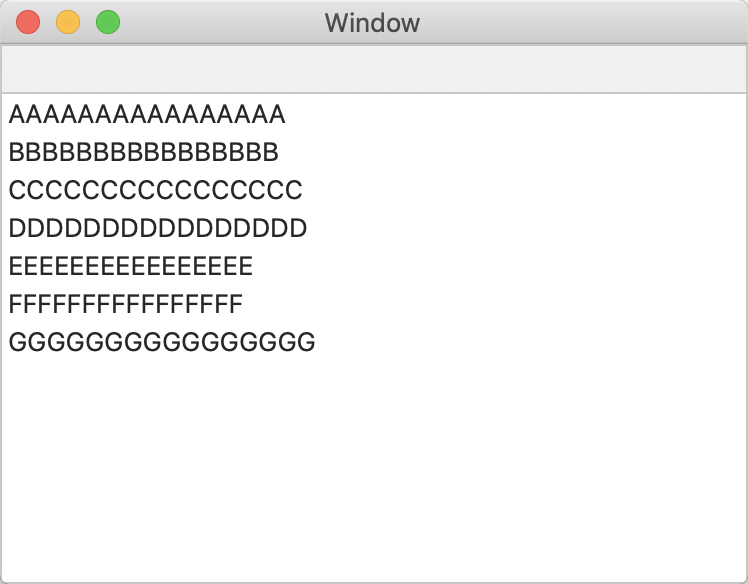
NSTableView
定义数据源
    private var dataSource: [String] = [
        "AAAAAAAAAAAAAAAA",
        "BBBBBBBBBBBBBBBB",
        "CCCCCCCCCCCCCCCC",
        "DDDDDDDDDDDDDDDD",
        "EEEEEEEEEEEEEEEE",
        "FFFFFFFFFFFFFFFF",
        "GGGGGGGGGGGGGGGG"
    ]
extension ViewController: NSTableViewDataSource, NSTableViewDelegate {

    func numberOfRows(in tableView: NSTableView) -> Int {
        return dataSource.count
    }

    func tableView(_ tableView: NSTableView, viewFor tableColumn: NSTableColumn?, row: Int) -> NSView? {
        let cell = tableView.makeView(withIdentifier: NSUserInterfaceItemIdentifier("CELL"), owner: self) as? NSTableCellView
        cell?.textField?.stringValue = dataSource[row]
        return cell
    }
}
设置 draggingDestinationFeedbackStyle为gap就能实现。
拖拽实现排序
首先得定义拖拽的粘贴板类型:
let dragType = NSPasteboard.PasteboardType("test.data")

override func viewDidLoad() {
    super.viewDidLoad()

    tableView.registerForDraggedTypes([dragType])
}
然后实现NSTableViewDataSource中的如下几个方法:
func tableView(_ tableView: NSTableView, writeRowsWith rowIndexes: IndexSet, to pboard: NSPasteboard) -> Bool
func tableView(_ tableView: NSTableView, validateDrop info: NSDraggingInfo, proposedRow row: Int, proposedDropOperation dropOperation: NSTableView.DropOperation) -> NSDragOperation
func tableView(_ tableView: NSTableView, acceptDrop info: NSDraggingInfo, row: Int, dropOperation: NSTableView.DropOperation) -> Bool
- 方法一主要将拖动的行(可能是多行)写到粘贴板中
- 方法二在拖拽结束的时候判断这是不是一个合法的Drop
- 方法三就是处理Drop了
func tableView(_ tableView: NSTableView, writeRowsWith rowIndexes: IndexSet, to pboard: NSPasteboard) -> Bool {
    let data = NSKeyedArchiver.archivedData(withRootObject: rowIndexes)
    let item = NSPasteboardItem()
    item.setData(data, forType: dragType)
    pboard.writeObjects([item])
    return true
}
接着
func tableView(_ tableView: NSTableView, validateDrop info: NSDraggingInfo, proposedRow row: Int, proposedDropOperation dropOperation: NSTableView.DropOperation) -> NSDragOperation {
    guard let source = info.draggingSource as? NSTableView, source == tableView else {
        return []
    }
    if dropOperation == .above || dropOperation == .on {
        return .move
    }
    return []
}
最后处理Drop信息,将 NSDraggingInfo 中的信息反序列化为索引,对数据源和TableView进行操作。
func tableView(_ tableView: NSTableView, acceptDrop info: NSDraggingInfo, row: Int, dropOperation: NSTableView.DropOperation) -> Bool {
        let pb = info.draggingPasteboard
        if let itemData = pb.pasteboardItems?.first?.data(forType: dragType),
            let indexes = NSKeyedUnarchiver.unarchiveObject(with: itemData) as? IndexSet {
            for index in indexes {
                (dataSource[index], dataSource[row]) = (dataSource[row], dataSource[index])
                tableView.moveRow(at: index, to: row)
            }
            return true
        }
        return false
    }
实现类似Dock拖拽排列的效果
Dock 上面的图标在拖拽排列的时候有一个挤占效果,其实只要设置一个tableView的属性即可。
override func viewDidLoad() {
        super.viewDidLoad()

        tableView.registerForDraggedTypes([dragType])
        tableView.draggingDestinationFeedbackStyle = .gap
    }